-
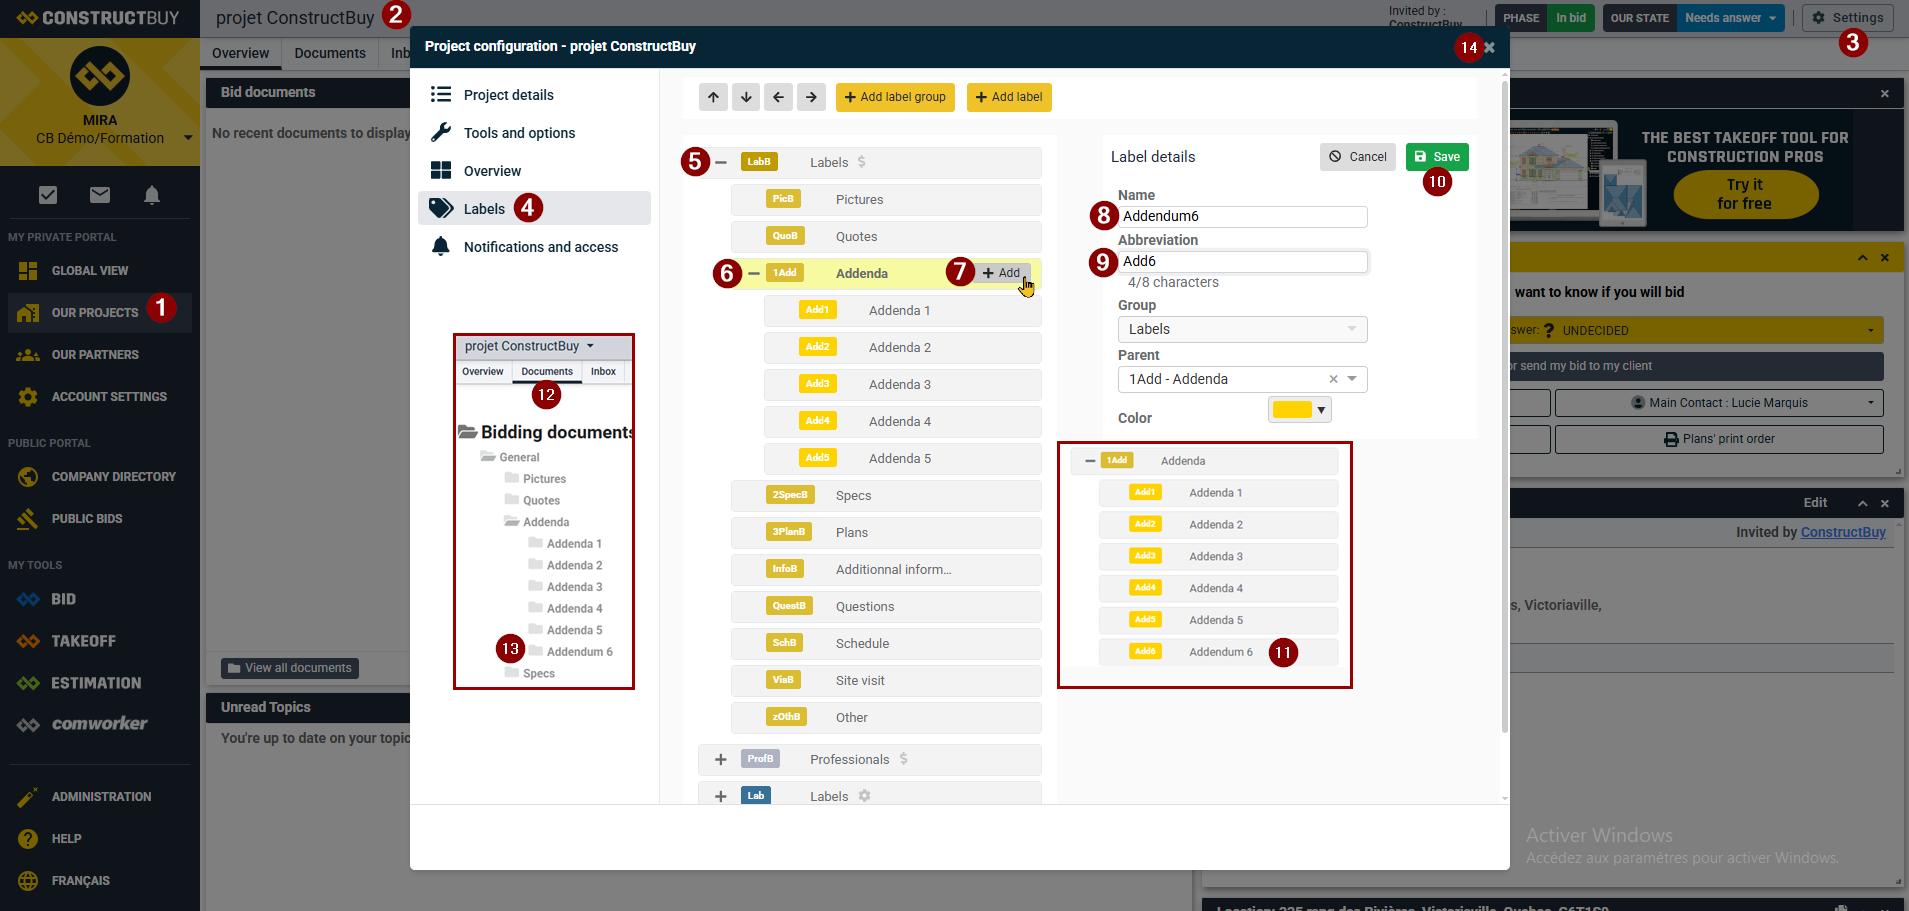
From your ConstructBuy.com account, make sure you are in your Private Portal.
-
Select the project where you want to add document labels.
-
Click Project Settings.
-
Select Labels.
-
Click the + to the left of Document Labels (Bidding).
-
Click the + to the left of Addenda.
-
Click + Add to the right of Addenda.
-
Enter the name of the label you want to add.
-
You may enter an abbreviation of your choice, or leave the field blank and let the system generate one automatically when the label is saved.
-
Click Save.
-
The new label will then appear in the location you selected.
-
You can use the new label by returning to the project and opening the Documents section.
-
When you click Publish a document, you will be able to select the new label by clicking Select to the right of the label.

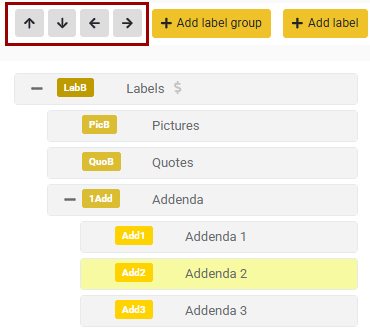
Note: You can move labels from one section to another within the same group by selecting the label in Project Settings and using the arrow buttons as follows:
Left → Convert the label into a parent folder.
Right → Move the label into a label folder.
Up → Move the label up in the list.
Down → Move the label down in the list.